Raspberry Pi
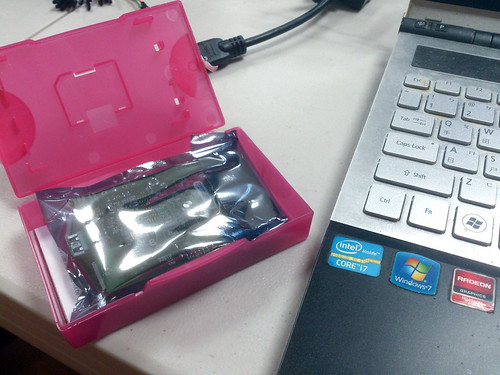
今天上了一整天Raspberry Pi的課,老師說這是外國的千元電腦計畫的產物,玩了一天下來,覺得真的很好玩,千元以內的電腦真的是有機會出現的(雖然這台就差不多了)。
有了板子後,先到Raspberry Pi官網下載相關驅動,抓wheezy-raspbian.zip跟wheezy-armel.zip回來,解壓縮後從電腦開啟Win32DiskImager,再選擇要安裝的os到SD卡上。
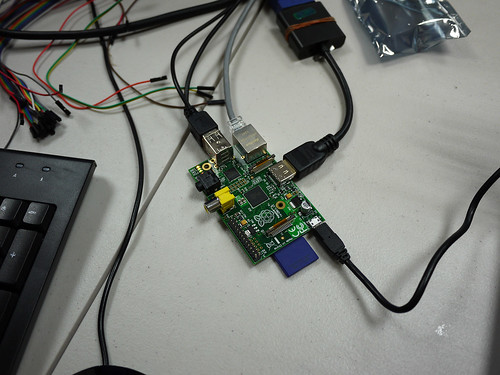
網路線、滑鼠、鍵盤、電源、HDMI 插一插。
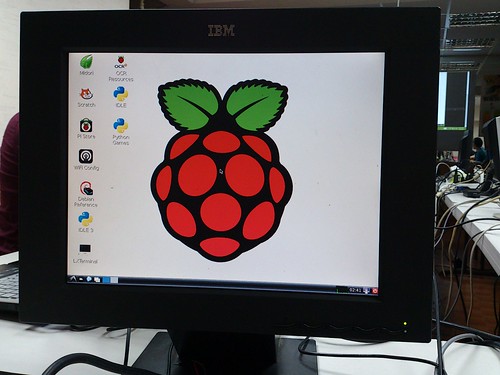
安裝成功後會看到這個畫面,第一次進入系統的帳密 pi/raspberry。
開始指令
startx進最開始的設定畫面。
sudo raspi-config然後查IP,之後用遠端登入就不用再額外裝滑鼠、鍵盤跟螢幕了。
ifconfig可以找到一個192.168.11.xx的 ip 位址
安裝遠端控制
sudo apt-get install xrdp回初始畫面讓系統可以遠端控制
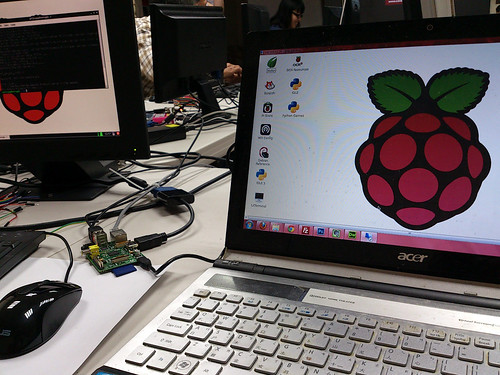
sudo raspi-config然後就可以遠端啦
如果要安裝chrome
sudo apt-get install chromium-browser關機指令
sudo halt重開機指令
sudo reboot如果想要把Raspberry Pi當伺服器
sudo apt-get install lighttpd建立使用者
sudo adduser pi www-data

sudo chown -R www-data:www-data /var/www

sudo chmod -R 775 /var/www
開啟一個html檔來編輯
nano /var/www/index.html存檔按 ctrl x
安裝php
sudo apt-get install php5-cgi

sudo lighty-enable-mod fastcgi

sudo /etc/init.d/lighttpd force-reload
修改一下設定
sudo nano /etc/lighttpd/lighttpd.conffastcgi.server=(".php" => ((
"bin-path" -> "/usr/bin/php-cgi",
"socket" => "/tmp/php.socket"
)))重開伺服器
sudo service lighttpd restart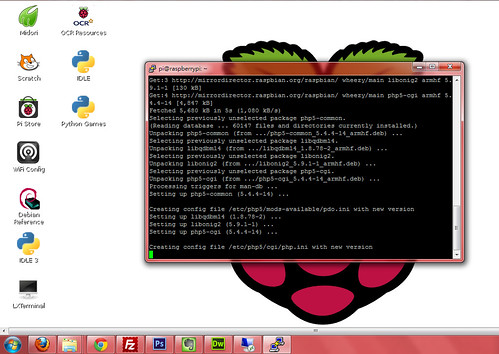
安裝中文字型
sudo apt-get install 字型檔安裝中文輸入法
sudo apt-get install scim scim-tables-zh scim-chewing裝好要重開機。
測試音效
sudo amixer cset numid=3 nn可以是0, 1, 2
0:自動
1:耳機
2: HDMI
cd /opt/vc/src/hello_pi/

./rebuild.sh

cd hello_audio


./hello_audio.bin
到指定網站抓檔案的方法
sudo wget http://www.freespecialeffects.co.uk/soundfx/sirens/police_s.wav

sudo aplay police_s.wab
安裝scratch
sudo wget https://dl.dropbox.com/s/gery97qildl7ozd/install_scratch_gpio.sh -O /boot/install_scratch_gpio.sh

sudo /boot/install_scratch_gpio.sh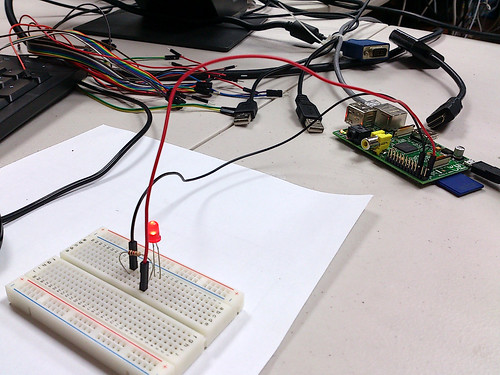
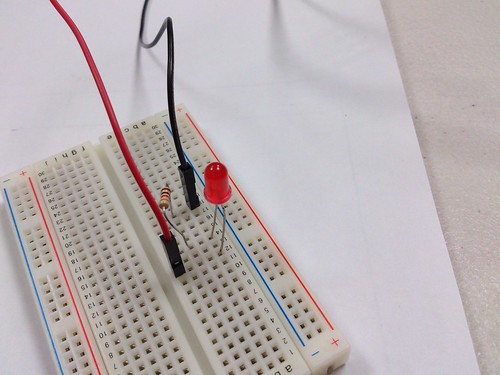
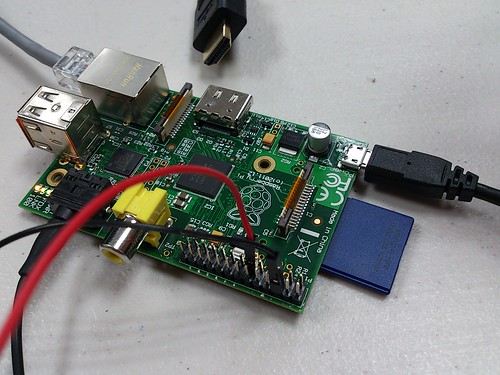
本日接線生。
Raspberry Pi的Pi是python的意思,所以要在上面寫程式主要以Python為主
安裝Python
sudo apt-get install python-setuptools

sudo easy_install -U RPIO
建一個python檔
nano test.py寫一段Python測試
- import RPIO
- import time
- RPIO.setmode(RPIO.BOARD)
- RPIO.setup(11, RPIO.OUT)
- while True: //第一個字母大寫 其他小寫
- RPIO.output(11, True) //前面一定要有空格
- time.sleep(0.1)
- RPIO.output(11, False)
- time.sleep(0.1)
執行
sudo python test.py如果有興趣玩Arduino,也可以安裝Arduino的IDE就可以玩了
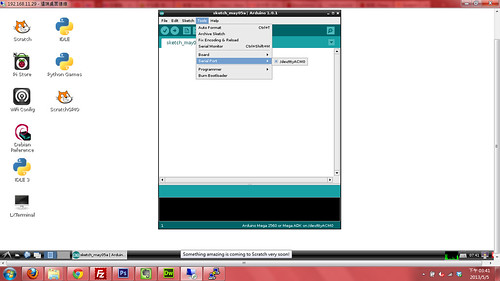
sudo apt-get install arduino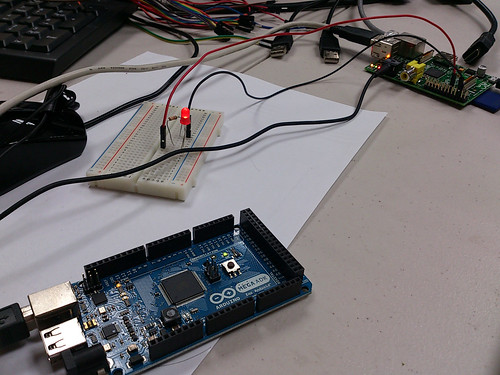
留言